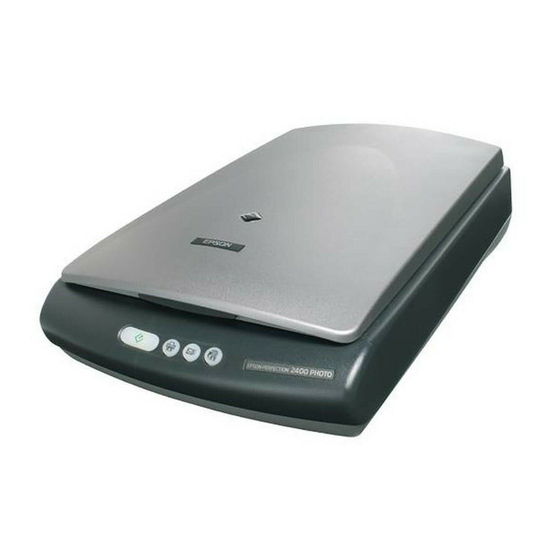
Epson Perfection 2400 Start Here Manual
Epson perfection 2400: quick start
Hide thumbs
Also See for Perfection 2400:
- Product support bulletin (29 pages) ,
- Specification sheet (2 pages) ,
- Manual (11 pages)
Advertisement
EPSON Perfection
Unpack Your Scanner
1
Make sure you have everything:
Built-in
transparency unit
See your on-screen Scanner Reference Guide for detailed scanning
instructions.
2
Remove all the packing tape, but leave the yellow sticker
in place for now.
IMPORTANT!
Leave the yellow sticker in
place until you're instructed
to remove it.
Scanner
CD-ROM with EPSON
®
scanner software and
electronic manual
Adobe
®
Photoshop
®
Elements
CD-ROM
®
2400 Photo
AC adapter
Power cord
USB cable
Film holder
Advertisement
Table of Contents

Summary of Contents for Epson Perfection 2400
-
Page 1: Unpack Your Scanner
CD-ROM with EPSON scanner software and electronic manual Adobe ® CD-ROM See your on-screen Scanner Reference Guide for detailed scanning instructions. Remove all the packing tape, but leave the yellow sticker in place for now. IMPORTANT! Leave the yellow sticker in place until you’re instructed... -
Page 2: Install The Software
At the last screen, click Done or close your browser. Macintosh Insert the scanner software CD-ROM in the CD-ROM or DVD drive. The EPSON folder opens on your desktop. If it doesn’t open, double-click the If you are using Mac EPSON folder, then double-click the If you are using Mac OS 8.6 to 9.x, double-click the... -
Page 3: Connect The Scanner
Follow the on-screen instructions to install each program. Click Quit to continue, as needed. Note that EPSON Smart Panel installs in several steps. At the end of the installation, click Exit. If you see a Product Registration screen, register your scanner as instructed. -
Page 4: Your First Scan
EPSON Smart Panel opens on your computer. Note: In Windows XP, you may see a message the first time you press any of the scanner buttons. Select EPSON Smart Panel, click Always use this program for this action, then click OK. -
Page 5: Starting A Scan
Smart Panel automatically opens and scans your documents. Then follow the easy on-screen instructions to finish your task. Note: If you are using Windows XP, you will have to select EPSON Smart Panel and Always use this program for this action the first time you press each of the buttons. -
Page 6: Scanning Film
Locate the film holder that came with your scanner. Slide a strip of 35 mm film into the film strip holder, with the film’s shiny side side facing down. - Page 7 Then place the slides in the holder. Start EPSON Scan and select either Home Mode or Professional Mode. Note: You can also scan film and slides in Full Auto mode, although you won’t have control over the settings.
- Page 8 You can’t scan negatives or slides. EPSON is a registered trademark and EPSON Smart Panel is a trademark of SEIKO EPSON CORPORATION. EPSON Perfection is a registered trademark, and EPSON Store and SoundAdvice are service marks of Epson America, Inc.


