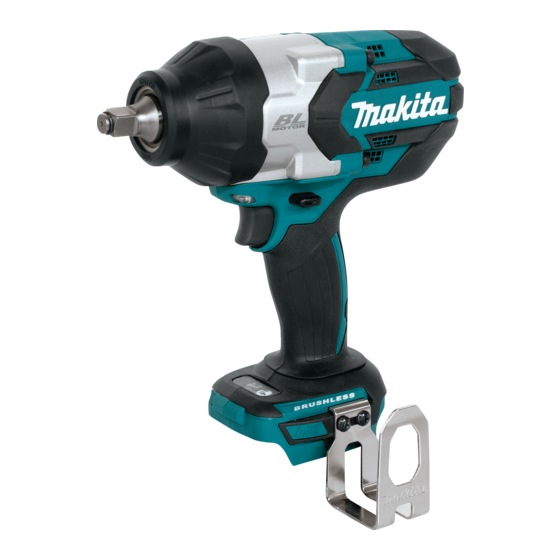
Makita XWT08XV Instruction Manual
Hide thumbs
Also See for XWT08XV:
- Instruction manual (33 pages) ,
- Instruction manual (31 pages) ,
- Instruction manual (12 pages)
Summary of Contents for Makita XWT08XV
- Page 1 INSTRUCTION MANUAL Cordless Impact Wrench XWT07 XWT08 XWT09 XWT07XV XWT08XV XWT09XV IMPORTANT: Read Before Using.
-
Page 2: Specifications
ENGLISH (Original instructions) SPECIFICATIONS Model: XWT07 / XWT07XV XWT08 / XWT08XV XWT09 / XWT09XV Fastening capacities Standard bolt M12 - M30 (1/2″ - 1-1/4″) M12 - M24 (1/2″ - 1″) High tensile bolt M10 - M24 (3/8″ - 1″) M10 - M22 (3/8″ - 7/8″) Square drive 19 mm (3/4″) - Page 3 Personal Safety Use the power tool, accessories and tool bits etc. in accordance with these instructions, tak- Stay alert, watch what you are doing and use ing into account the working conditions and common sense when operating a power tool. the work to be performed.
- Page 4 It will also void the Makita warranty for the Makita tool and charger. revolutions or reciprocation per minute Tips for maintaining maximum...
-
Page 5: Functional Description
Battery protection system FUNCTIONAL DESCRIPTION Lithium-ion battery with star marking CAUTION: Always be sure that the tool is switched off and the battery cartridge is removed before adjusting or checking function on the tool. Installing or removing battery cartridge CAUTION: Always switch off the tool before installing or removing of the battery cartridge. -
Page 6: Electric Brake
NOTE: While pulling the switch trigger, the lamp consistently fails to quickly stop after the switch trigger status cannot be changed. is released, have the tool serviced at a Makita service center. NOTE: For approximately 10 seconds after releasing the switch trigger, the lamp status can be changed. - Page 7 Specifications of each impact force grade Impact force grade displayed on Maximum blows Application panel XWT07 / XWT08 / XWT09 / XWT07XV XWT08XV XWT09XV Hard 2,200 min (/min) Tightening when force and speed are desired. Medium 2,000 min (/min) Tightening when you need good controlled power.
- Page 8 An incorrect size impact socket will result in inac- curate and inconsistent fastening torque and/or damage to the bolt or nut. Installing or removing impact socket Only for Model XWT07, XWT08, XWT07XV, XWT08XV (optional accessory) CAUTION: Make sure that the impact socket and the mounting portion are not damaged before installing the impact socket.
-
Page 9: Installing Hook
Installing or removing drill bit/ Ring socket adapter Only for Model XWT09, XWT09XV Only for Model XWT09, XWT09XV (optional accessory) ► 1. Bracket 2. Ring 3. Screws The ring is convenient for hanging the tool with hoist. A=11.2 mm (7/16″) First, place the rope through the ring. - Page 10 Model XWT07, XWT07XV Proper fastening torque for standard bolt N•m (ft•lbs) (590) M30(1-1/4″) M30(1-1/4″) (440) Hold the tool firmly and place the impact socket over the bolt or nut. Turn the tool on and fasten for the proper fastening time. M24(1″) (300) The proper fastening torque may differ depending upon...
- Page 11 Model XWT08, XWT08XV Model XWT09, XWT09XV Proper fastening torque for standard bolt Proper fastening torque for standard bolt N•m N•m (ft•lbs) (ft•lbs) (590) M30(1-1/4″) M24(1″) (300) M30(1-1/4″) M24(1″) (440) M20(3/4″) M24(1″) M20(3/4″) (300) (150) M24(1″) (150) 1. Fastening time (second) 2. Fastening torque 1.
-
Page 12: Optional Accessories
CAUTION: These accessories or attachments NOTE: If the tool is operated continuously until the are recommended for use with your Makita tool battery cartridge has discharged, allow the tool to rest specified in this manual. The use of any other...


