Table of Contents
Advertisement
Advertisement
Table of Contents

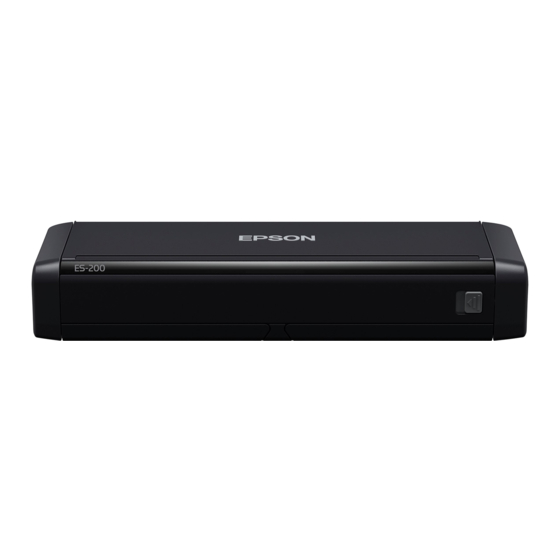
Summary of Contents for Epson ES-200
- Page 1 ES-200/ES-300W/ES-300WR User's Guide...
-
Page 3: Table Of Contents
Scanner Basics............................8 Scanner Parts Locations ........................8 Scanner Parts..........................8 Scanner Buttons and Lights......................12 User Replaceable Epson Scanner Parts and Accessories ............14 Changing the Power Save Settings....................14 Charging the Battery (ES-300W/ES-300WR)..................15 Loading Originals............................18 Loading Originals in the Input Tray..................... 18 Original Document Specifications.................... - Page 4 Scanning Two Originals onto One Sheet (Stitching Images) ............89 Scanning Multi-Page Originals as Separate Files - Windows ............92 Saving Scanned Documents as a Searchable PDF Using Epson Scan 2 ........96 Saving Scanned Documents as a Searchable PDF with Document Capture - Mac....... 98 Saving a Scan as an Office Format File - Windows ..............
- Page 5 Ripple Patterns Appear in an Image .................... 145 Spots or Lines Appear in All Scanned Images................146 Scanned Image is Cropped ......................146 Resetting the Epson Scan 2 Settings ..................147 Uninstall Your Scanner Software...................... 147 Uninstalling Scanner Software - Windows ................... 147 Uninstalling Scanner Software - Mac...................
- Page 6 Notices ..............................159 Important Safety Instructions......................159 Battery Safety Instructions (ES-300W/ES-300WR)................161 Restrictions on Copying ........................162 Default Delay Times for Power Management for Epson Products............ 163 Binding Arbitration and Class Waiver ....................163 Trademarks ............................166 Copyright Notice..........................166 libTIFF Software Acknowledgment....................
-
Page 7: Es-200/Es-300W/Es-300Wr User's Guide
ES-200/ES-300W/ES-300WR User's Guide Welcome to the ES-200/ES-300W/ES-300WR User's Guide. For a printable PDF copy of this guide, click here. If you have not already done so, you can download the Epson ScanSmart software for use with your scanner. Visit epson.com/support (U.S.),... -
Page 8: Scanner Basics
See these sections to identify the parts on your scanner. Scanner Parts Scanner Buttons and Lights User Replaceable Epson Scanner Parts and Accessories Parent topic: Scanner Basics Scanner Parts Note: The illustrations show the ES-300W/ES-300WR, but the parts are the same for the ES-200. Input tray... - Page 9 Cover latch Output slot Card slot Mode selector Edge guides Paper guide Input tray...
- Page 10 ADF (Automatic Document Feeder) Connection mode switch (ES-300W/ES-300WR only) Power inlet...
- Page 11 USB port Scanner cover Pickup roller Separation pad AC adapter...
-
Page 12: Scanner Buttons And Lights
Power cord SuperSpeed USB 3.0 cable Parent topic: Scanner Parts Locations Scanner Buttons and Lights ES-200 power button ! error light automatic feeding mode light stop button Ready light start button... - Page 13 ES-300W/ES-300WR power button ! error light automatic feeding mode light stop button Ready light start button Wi-Fi connect button Wi-Fi light battery light Parent topic: Scanner Parts Locations...
-
Page 14: User Replaceable Epson Scanner Parts And Accessories
Scanner Parts Locations Changing the Power Save Settings You can use the Epson Scan 2 Utility to change the time period before the scanner enters sleep mode and turns off automatically. 1. Do one of the following to access the Epson Scan 2 Utility: •... -
Page 15: Charging The Battery (Es-300W/Es-300Wr)
3. Select the length of time after which you want the scanner to go to sleep as the Sleep Timer setting. 4. Select a power off timer setting for the AC power or AC adapter and Battery or USB power settings. 5. Close the Epson Scan 2 Utility. Parent topic: Scanner Basics Charging the Battery (ES-300W/ES-300WR) The scanner runs on battery power when it is connected to the computer with a USB cable or WiFi. - Page 16 To charge the battery with the power cord, connect the power cord to the AC adapter, connect the AC adapter to the scanner, and then plug in the power cord. The battery charging light turns orange while the battery is charging. When charging is complete, the light turns blue (if the scanner is on) or turns off (if the scanner is off).
- Page 17 2. Connect the scanner to the computer using the micro USB cable. 3. Press the power button to turn on the scanner. The battery charging light turns orange while the battery is charging. When charging is complete, the light turns blue (if the scanner is on) or turns off (if the scanner is off). Note: Battery charging time when the scanner is on is about 4 hours when connected to a USB 3.0 port and about 20 hours when connected to a USB 2.0 port.
-
Page 18: Loading Originals
Loading Originals Follow the instructions here to load your originals into the scanner. Note: The illustrations show the ES-300W/ES-300WR, but the steps are the same for the ES-200. Loading Originals in the Input Tray Loading Receipts in the Input Tray... - Page 19 2. Press the power button to turn on the scanner, if necessary.
- Page 20 3. Extend the paper guide. Note: If you are loading an original that is 14.5 inches (368.3 mm) or longer, do not extend the paper guide.


