Advertisement
Quick Links
Advertisement

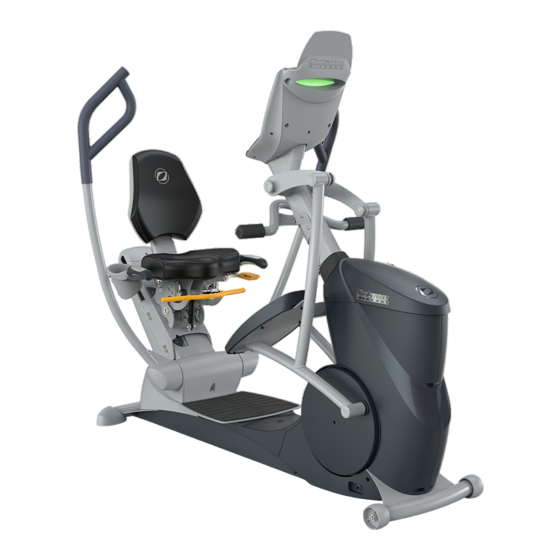
Summary of Contents for Octane Fitness xRide
- Page 1 Commercial LCD Mounting Arm Kit ASSEMBLY INSTRUCTIONS...
- Page 2 Commercial Series LCD-TV Mounting Arm Contents The LCD-TV Mounting Arm Kit contains the following: Tools required: A) LCD-TV Mounting Arm • Phillips screwdriver B) LCD-TV Mounting Bracket • T-handle 4mm hex wrench (included) C) Console Back Cover, right side •...
- Page 3 Hardware Pack (G) includes: H) 4 - Hex head screws with captive washers (for mounting screen-to-arm) I) 4 - 10mm Phillips screws (for mounting plate to screen) J) 4 - Spacers K) 4 - 20mm Phillips screws (to be used with spacers) L) 2 - Cable ties (for securing loose cables) M) 1 - T-handle hex wrench O) 4 - 16mm Phillips screws (for mounting plate to Cardiovison screen)
- Page 4 CONSOLE WITH PERSONAL TV CONTROL, DISREGARD THESE INSTRUCTIONS AND USE THE INSTRUCTIONS INCLUDED WITH YOUR CONSOLE. Note: Complete these instructions during initial assembly of the xRide Commercial Series elliptical (i.e., xR6000), while mounting the console display on the mast. If you are installing the LCD-...
- Page 5 3. Attach LCD-TV mounting arm a. Use a 5mm hex wrench to remove the two (2) lower hex screws securing the footrest to the mast. b. Hold the LCD-TV mounting arm (A) near the console mast Tighten to secure and route the power cord and coax cable under the bracket mounting arm to and up through the channel in the mounting arm.
- Page 6 LCD-TV mounting arm (A). b. Insert two (2) of the Phillips screws provided in the console box of the xRide elliptical through the back of the console covers and into the console; tighten to secure console back and console to console plate.
- Page 7 Note: If you have completed these instructions as part of the initial assembly of an xRide Commercial Series elliptical, return at this time to the Assembly Instructions for the xRide elliptical to complete the assembly. If you have installed the LCD-TV Mounting Arm Kit on a fully-assembled elliptical, replace the top cover (and right shroud if you removed it).
- Page 8 763.323.2064 © 2010 Octane Fitness, LLC ™ . All rights reserved. Octane Fitness, DedicatedLogic, Fuel Your Life, HeartLogic, Now-Zone and X-Mode are registered trademarks of Octane Fitness. Any use of these trademarks, without the express written consent of Octane Fitness, is forbidden. Cardiovision is a registered trademark of Cardiovision LLC.


